Installation & Setup
Learn how to install the AI Auto-SEO Writer plugin, connect your AI provider, and start generating SEO-optimized metadata from the WordPress editor.
WordPress 6.0+ PHP 7.4+ OpenAI / OpenRouter1. Requirements
Before installing the plugin, make sure your environment meets the following requirements:
- WordPress: 6.0 or higher
- PHP: 7.4 or higher
- SEO plugins (optional): Yoast SEO, Rank Math, All in One SEO
- Multilingual (optional): Polylang or WPML
- AI Provider: OpenAI or OpenRouter account
2. Plugin installation
From WordPress admin
- Go to Plugins → Add New → Upload Plugin.
- Select the plugin ZIP file you downloaded.
- Click Install Now then Activate.
- A new menu appears under Settings → AI Auto-SEO.
Via FTP (alternative)
- Unzip the archive on your computer.
- Upload the folder to
wp-content/plugins/. - In WordPress admin, go to Plugins and activate AI Auto-SEO Writer.
3. Configure AI provider
3.1 Choose provider
In Settings → AI Auto-SEO, select your AI provider:
- OpenAI – for models like
gpt-4o-mini,gpt-4.1. - OpenRouter – access Mistral, Claude, Mixtral and other models.
- Mock – no external calls, ideal for safe UI testing.
3.2 API key & models
- Paste your API key in the appropriate field (OpenAI or OpenRouter).
- Click Save Changes.
- Focus the model select field to auto-fetch compatible models via REST.
- Click Test API Connection to validate your configuration.
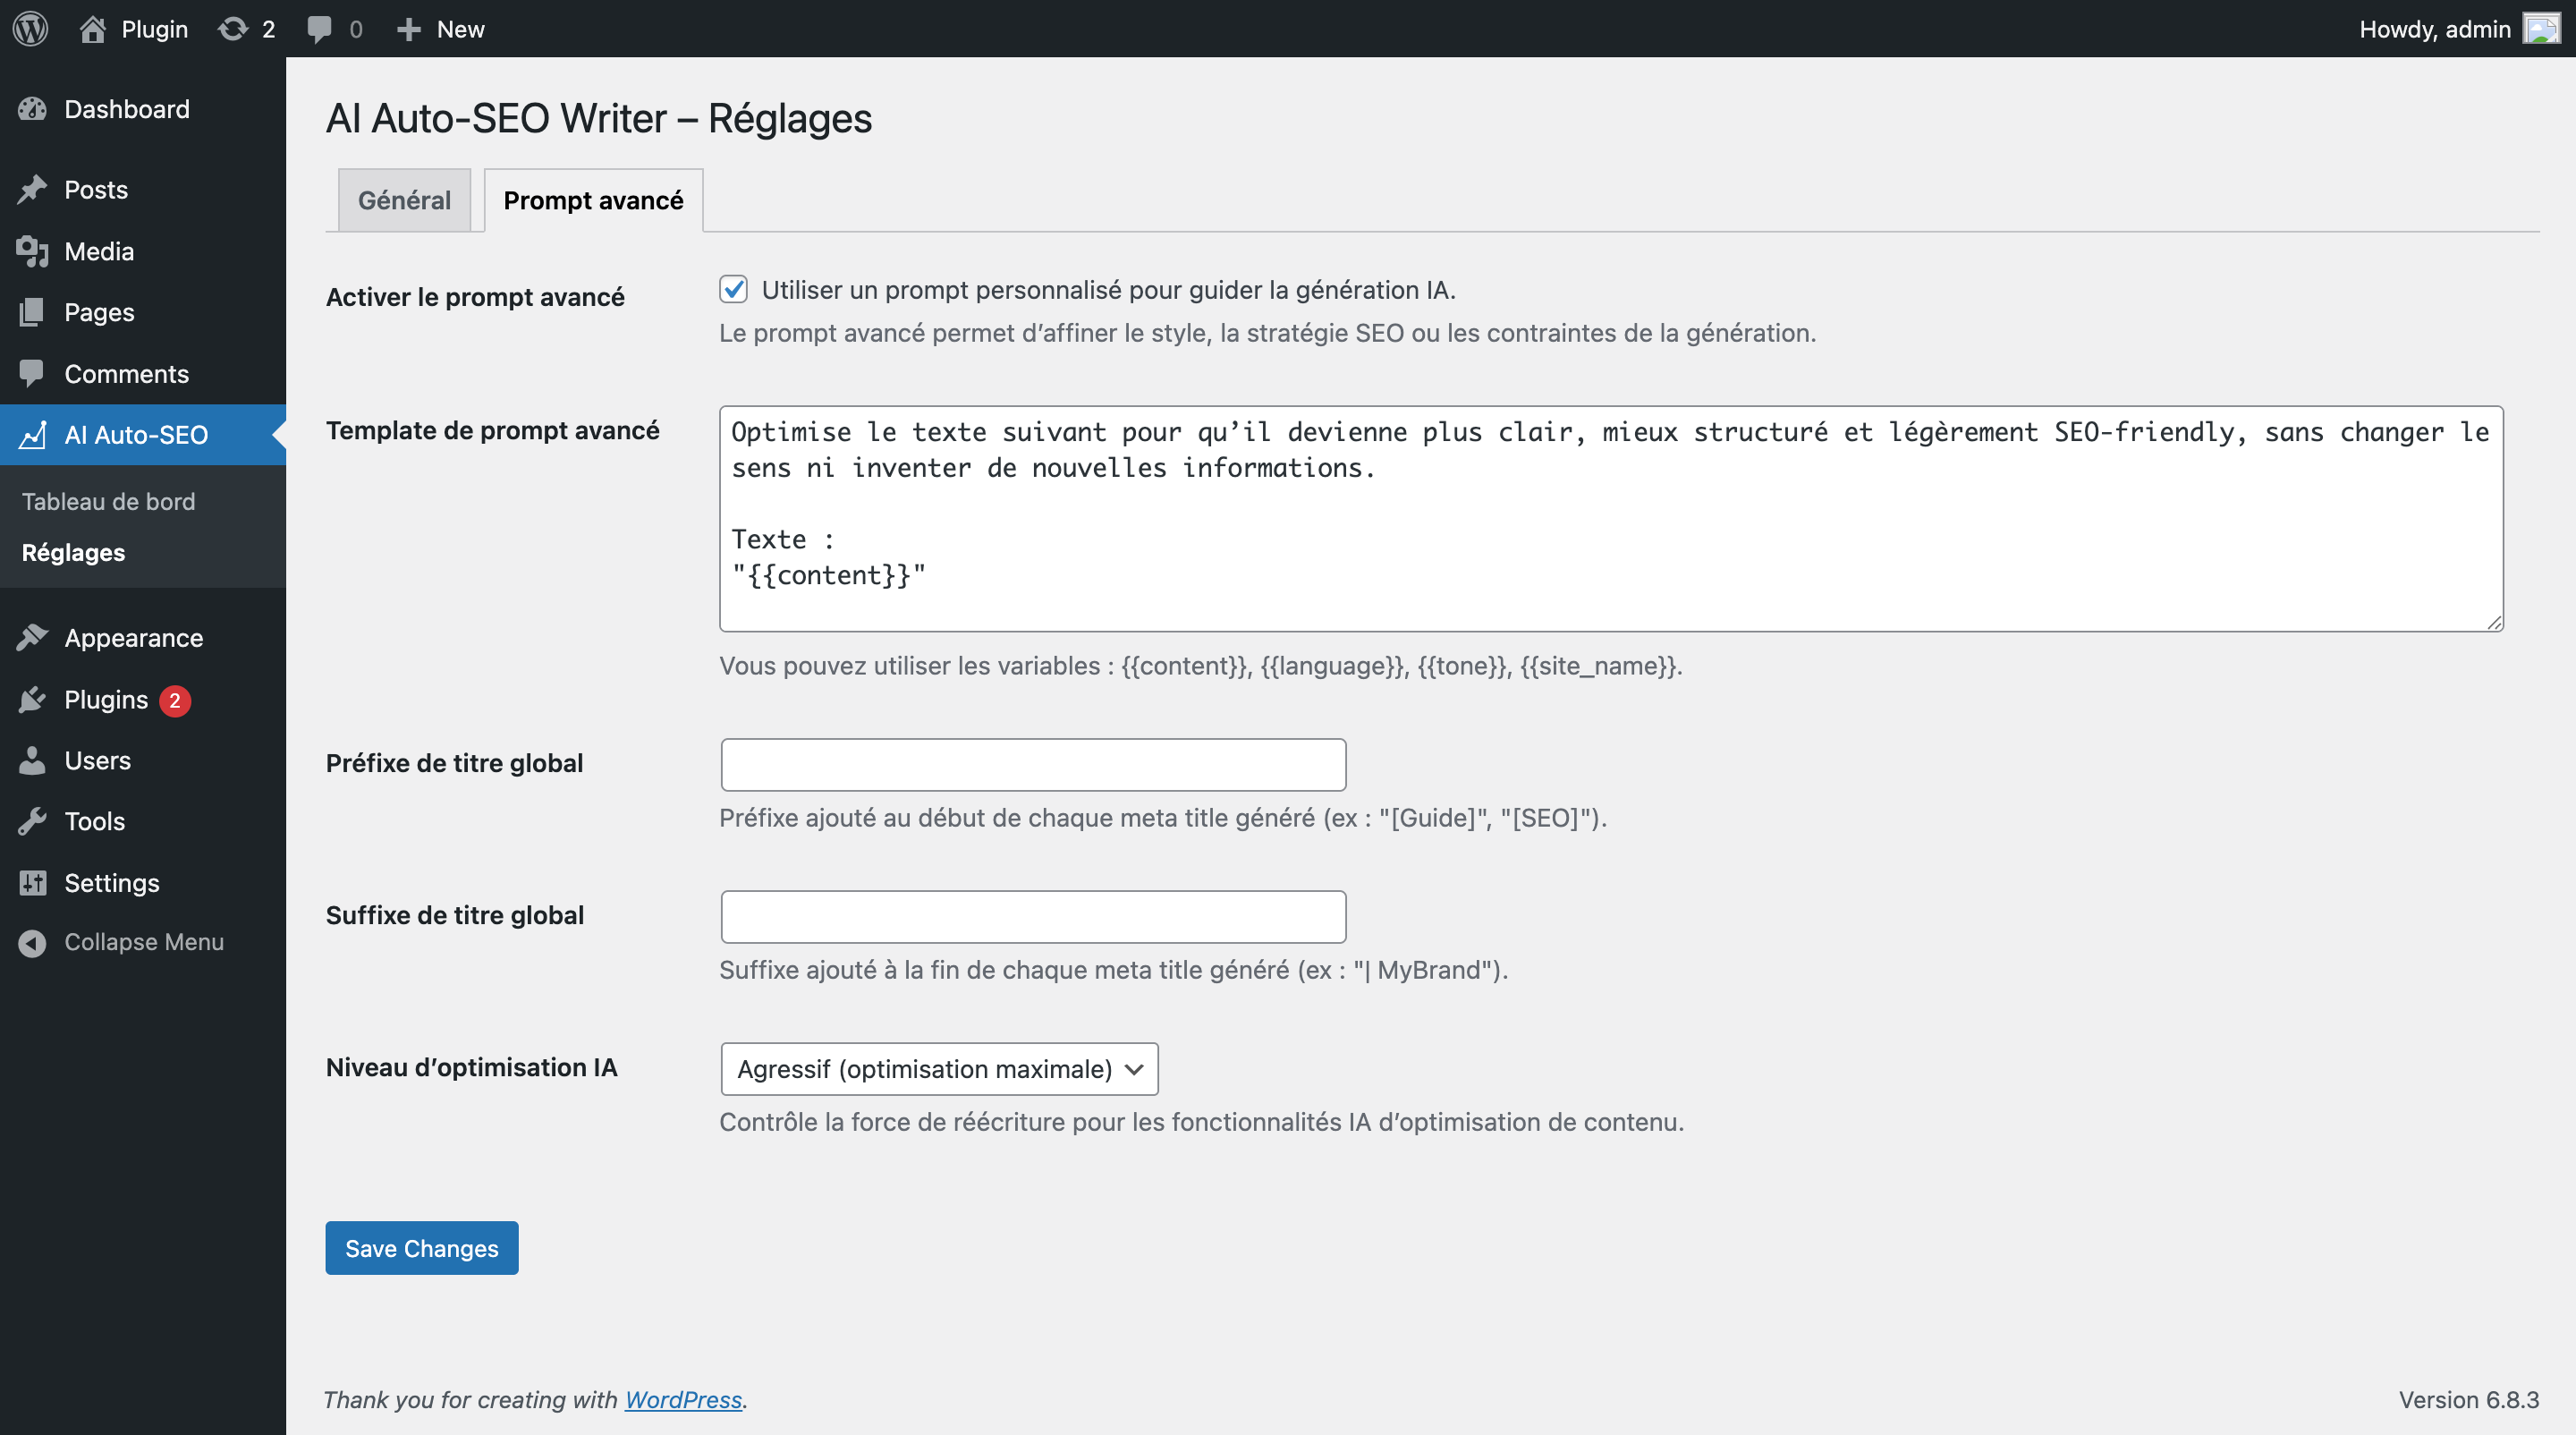
3.3 Language & tone
The plugin auto-detects the language of each post or page (Polylang / WPML / site locale) and enforces this language in the AI prompt. The Language target setting only acts as a fallback when no language is available.
You can also configure the default editorial tone (professional, pedagogical, marketing, inspirational, etc.) and an advanced prompt for power users.
3.4 WooCommerce & templates
WooCommerce mode
- Enable Mode WooCommerce in settings to load the meta-box on products.
- Prompts include product context (price, SKU, attributes, short description).
- Dashboard also lists products with their SEO scores.
SEO templates
- Templates available: blog post, product page, local business, service page, homepage.
- Select a template in the meta-box to adapt the prompt to the content type.
- Edit the template list in settings (format
slug|Label|Prompt).
4. Using the AI meta-box
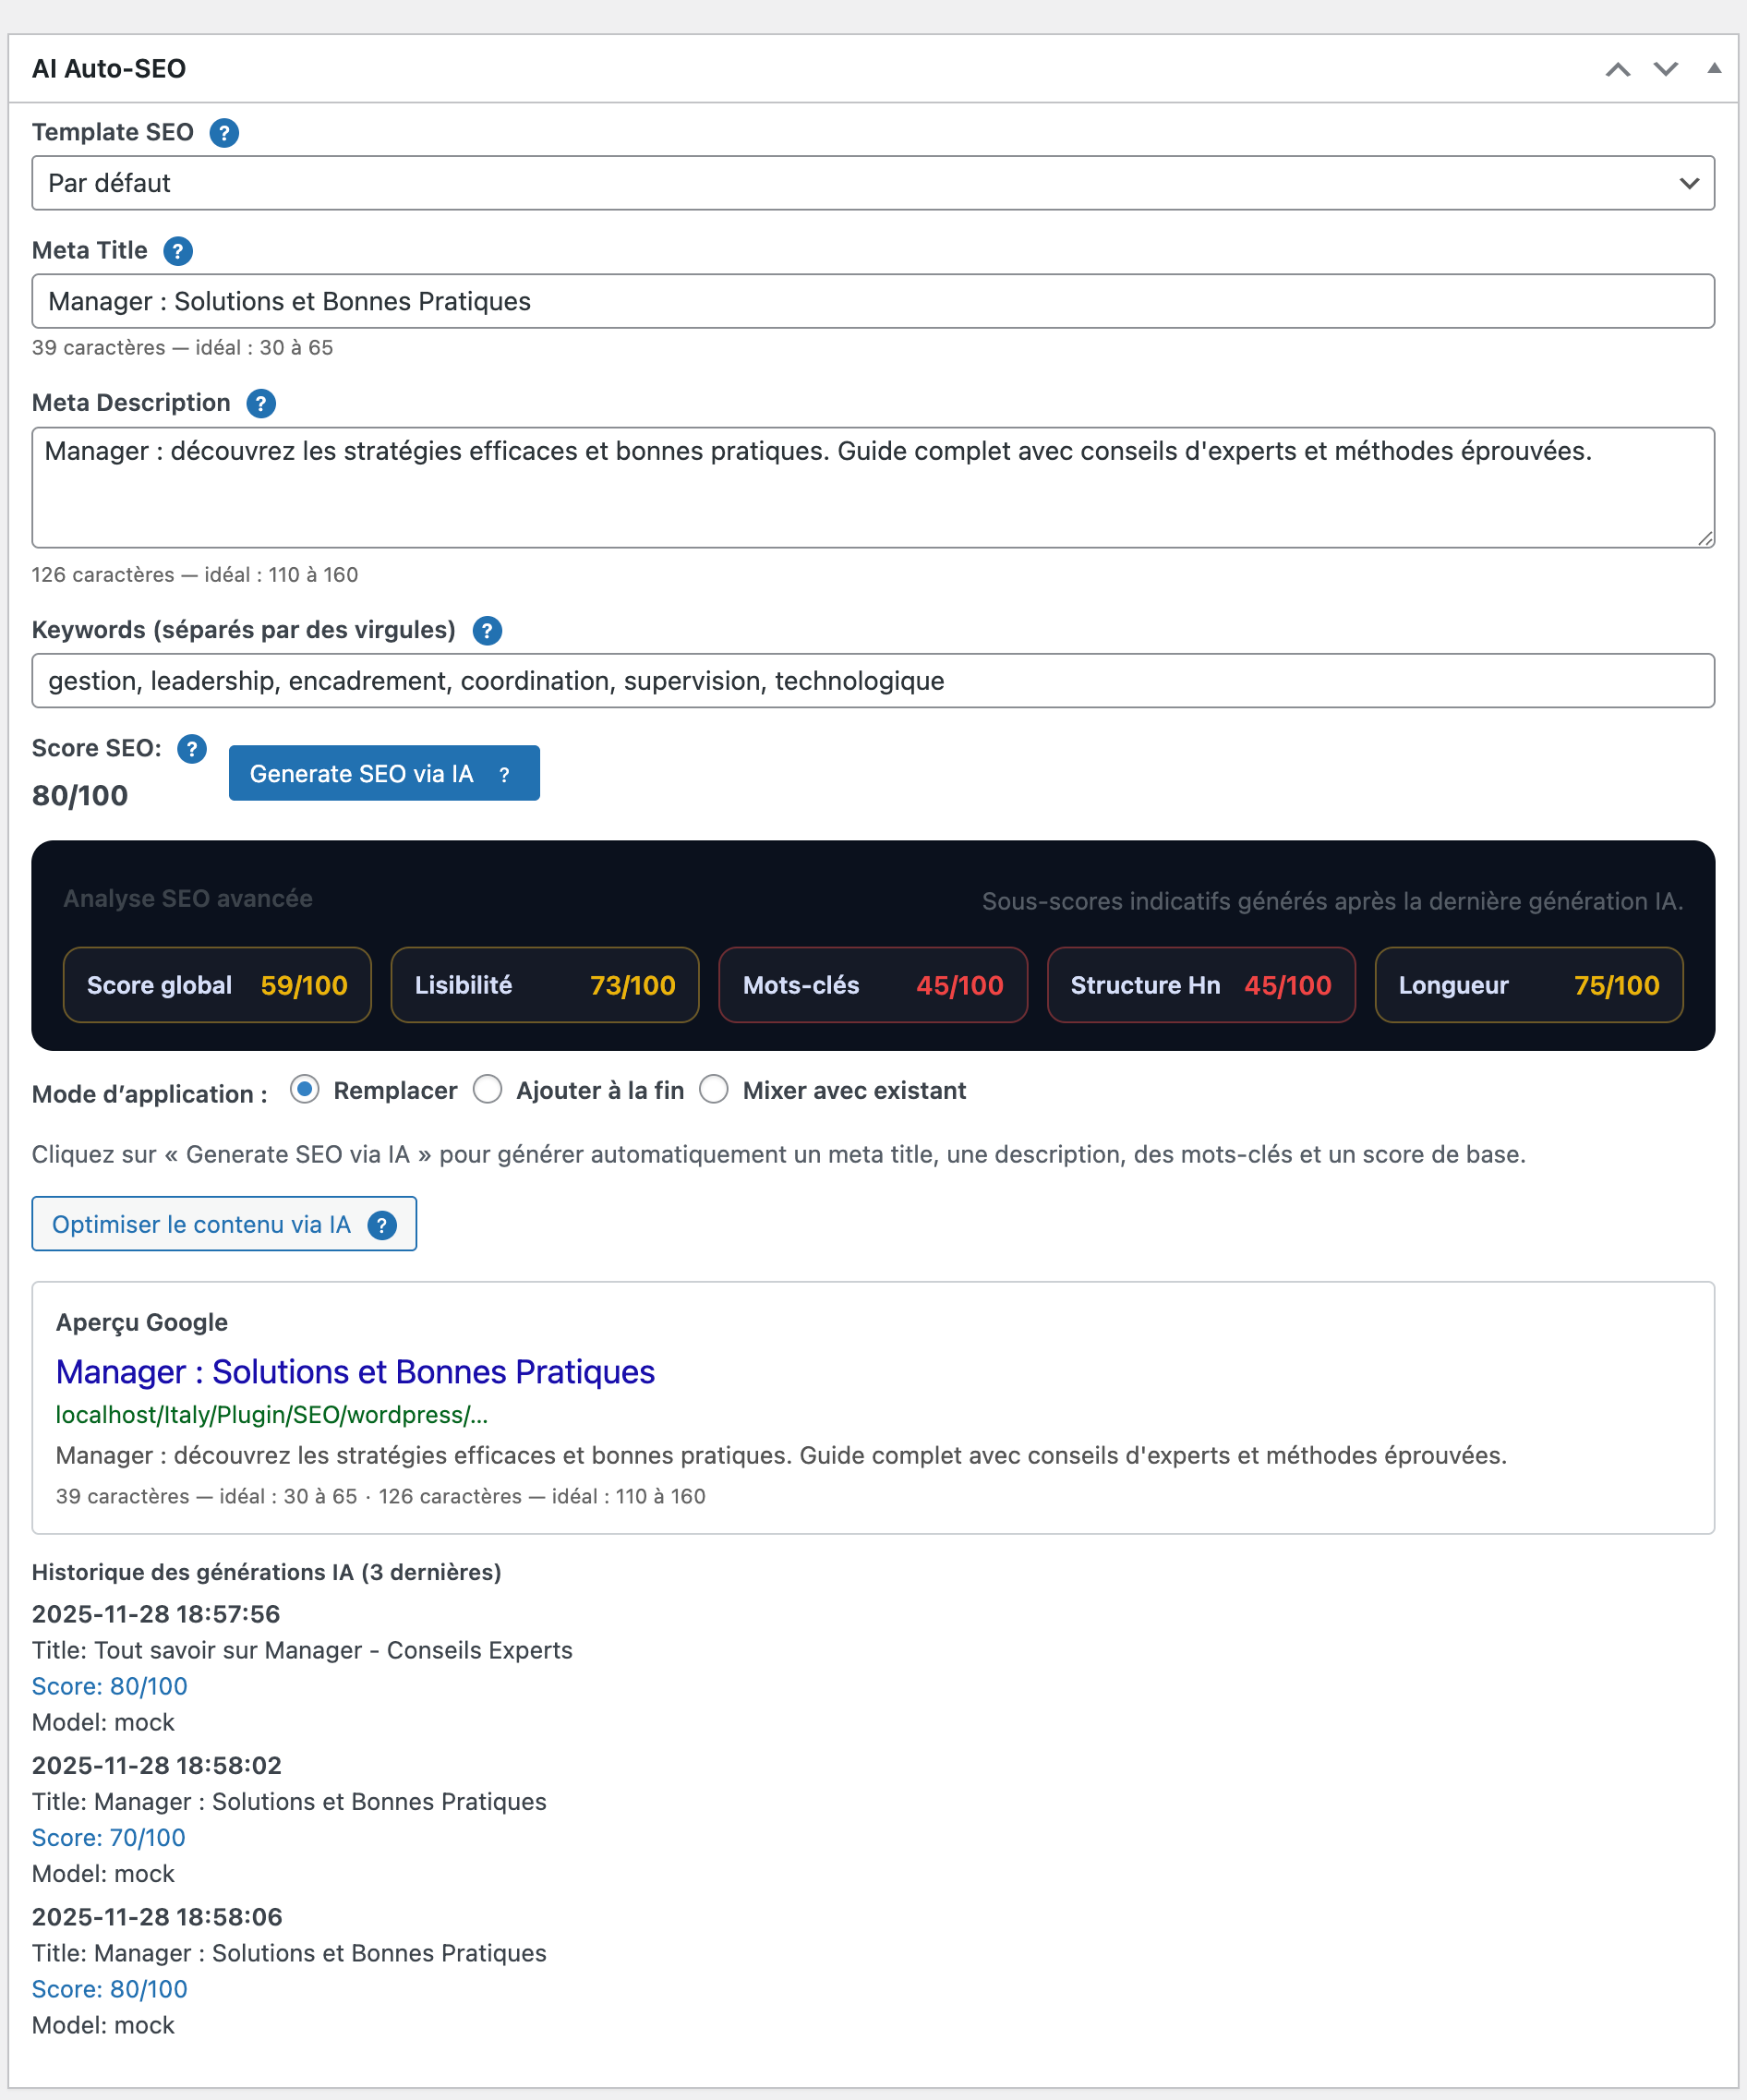
4.1 Generate SEO metas
- Write or paste your content in the editor.
- Scroll to the AI Auto-SEO meta-box.
- Optionally choose a template (blog, product, local, service, homepage).
- Select a mode: Remplacer, Ajouter à la fin or Mixer.
- Click Generate SEO via IA.
- If metas already exist and mode is Remplacer, a confirmation modal appears before overwriting anything.
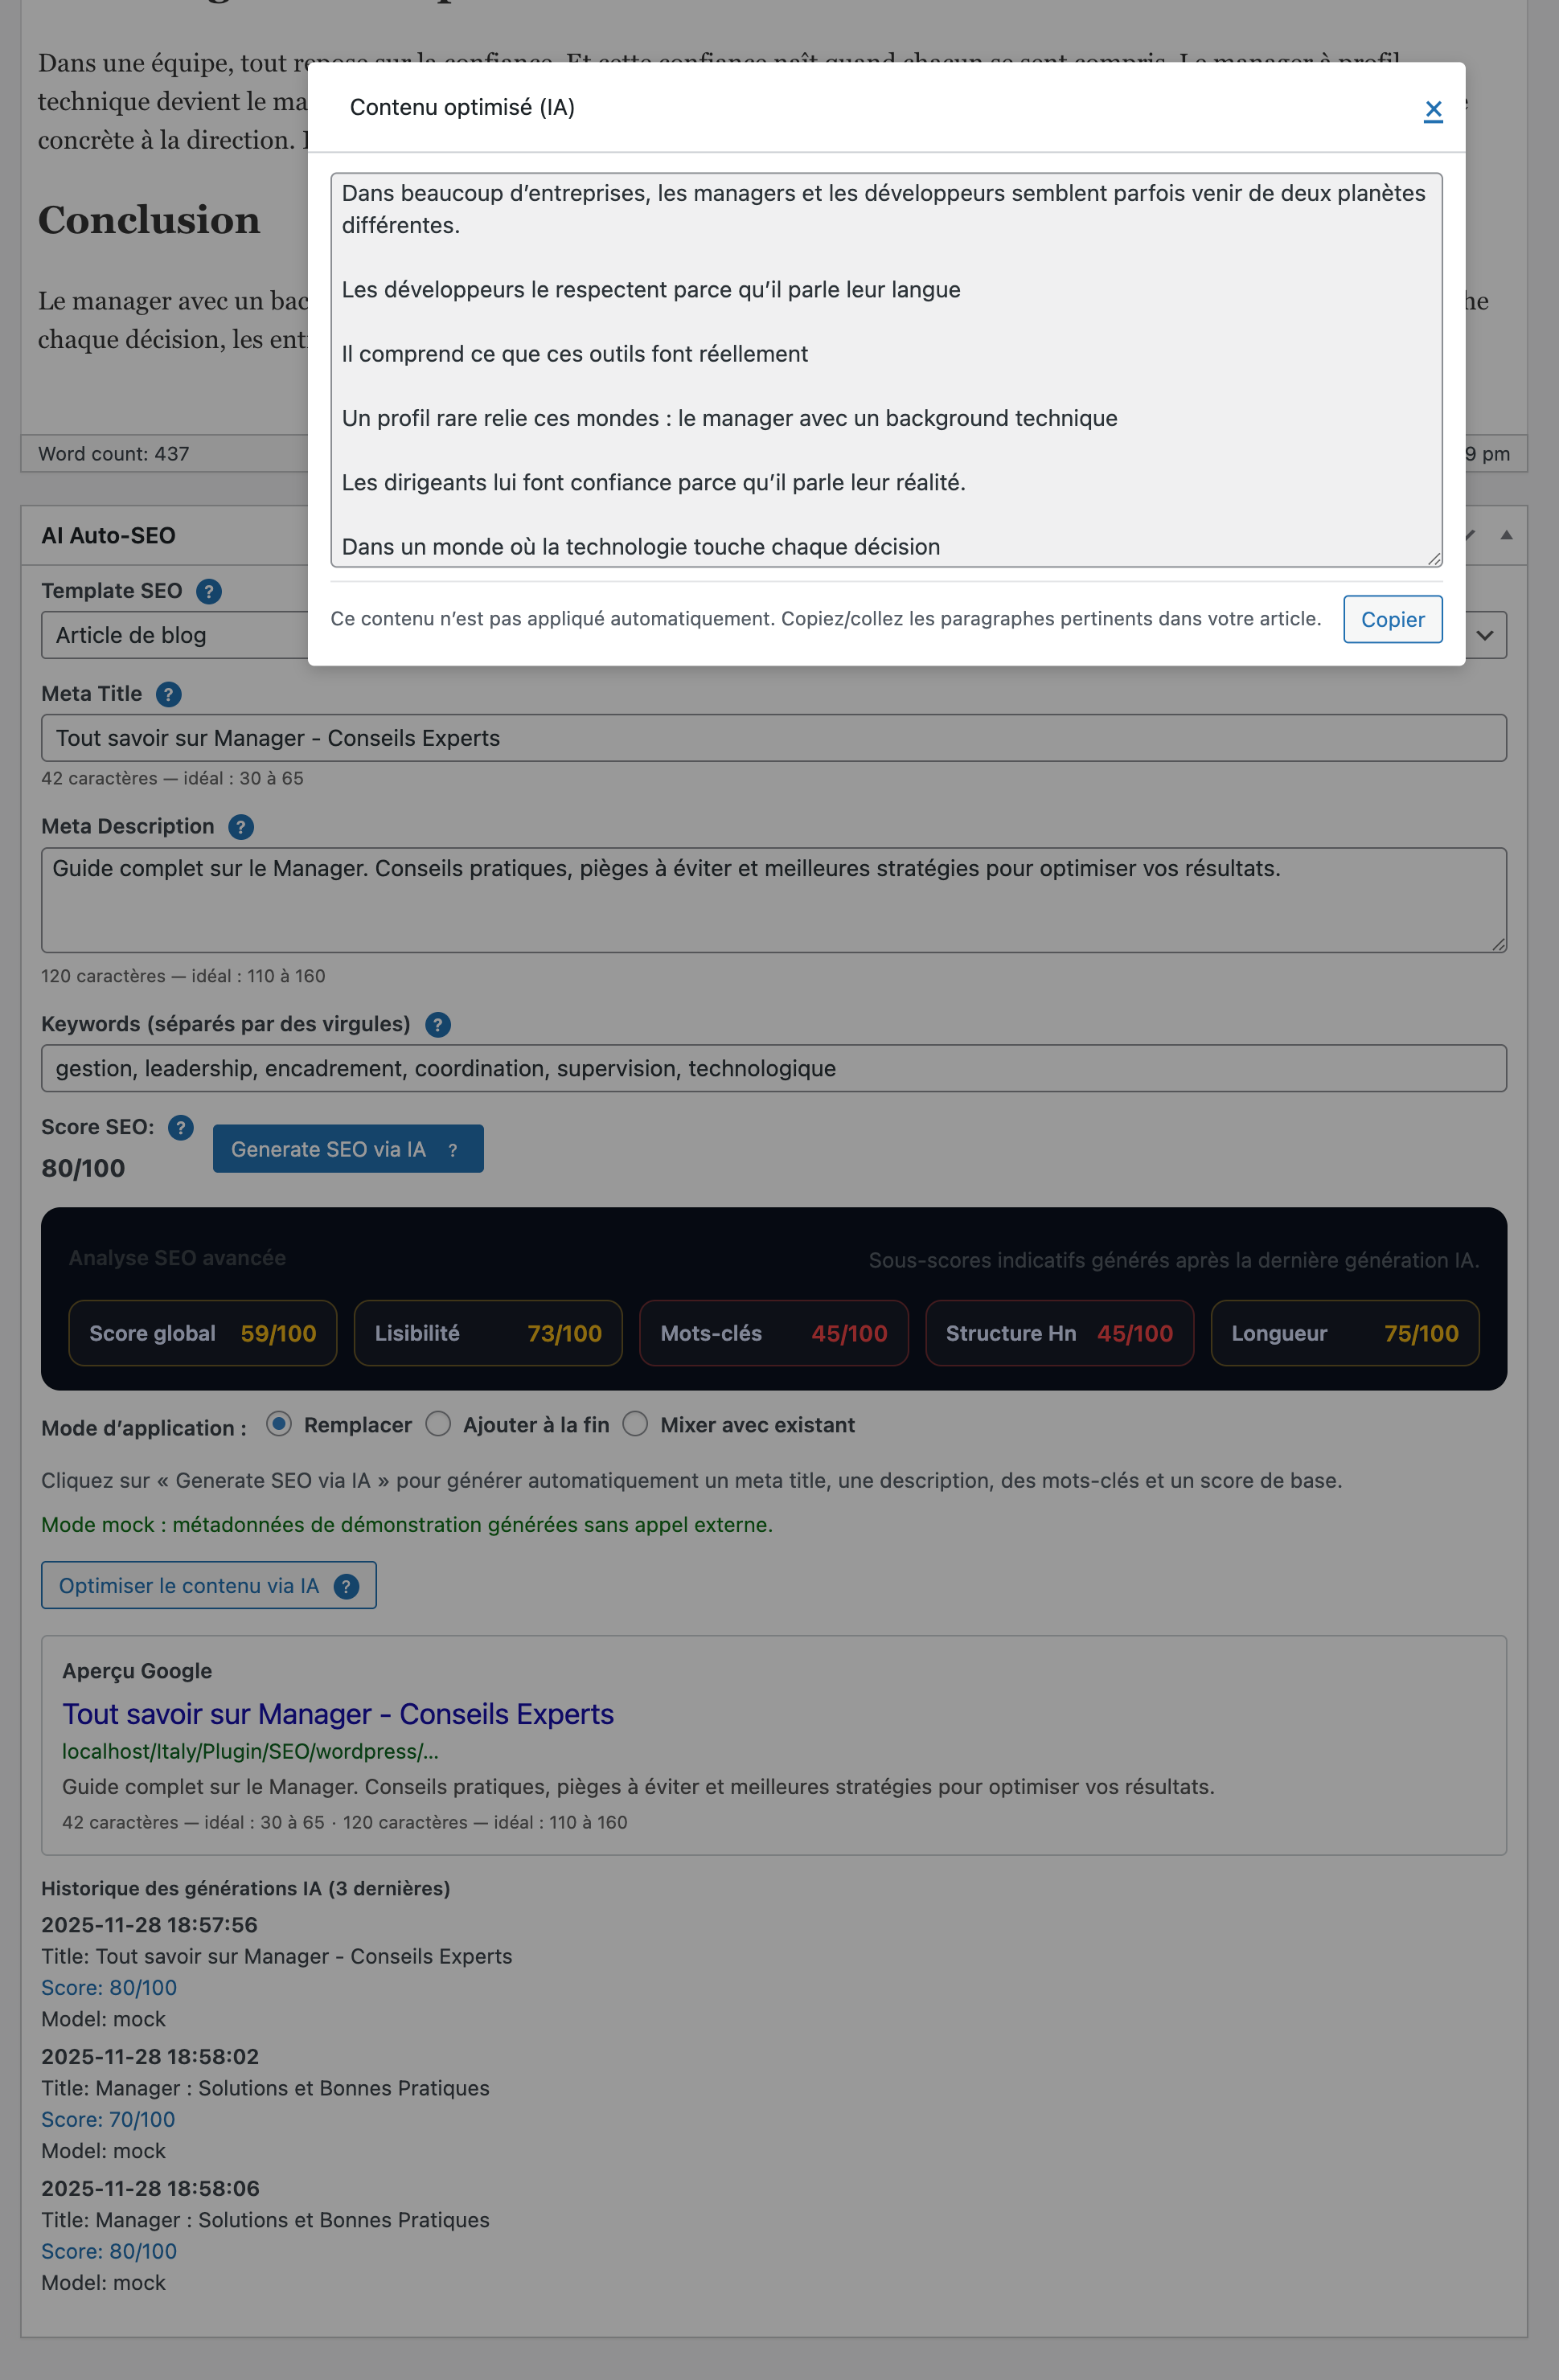
4.2 Optimize content (popup)
- Click Optimiser le contenu via IA from the meta-box.
- The plugin sends the post content to the AI for readability improvement (or mock cleanup in demo mode).
- The optimized text appears in a popup with a Copier button.
- Your original content is never overwritten automatically.
5. Screenshots
These screenshots show the main steps and screens of AI Auto-SEO Writer inside WordPress.
1) Upload the plugin ZIP
Go to Plugins → Add New → Upload Plugin and select the plugin ZIP file.
2) Settings → AI Auto-SEO
After activation, configure the plugin from Settings → AI Auto-SEO.

3) API key configuration
Enter your OpenAI or OpenRouter API key, choose a model and test the connection.
4) Meta-box inside post editor
Use the AI Auto-SEO meta-box to generate SEO metas and optimize content.